Here at Quail Springs the season is changing. It’s becoming colder and wetter by the week, and as the weather shifts, so do we. We get to go inwards – literally and figuratively. We light up the woodstoves in our spaces and hunker down with our favorite crafts.
So, keeping this sweet wintry image in mind, picture this: I walk up to our wood shop, and stumble across three mysterious looking unlabeled garbage bags.
Very interesting. I open them up, only to find that they are filled with raw wool! Even more glorious is that after I brought the question of the wool bag ownership to the community, it turns out they were up for grabs.
Immediately, I started daydreaming of all the incredible things I could do with all this wool. Wool has been used around the world as a primary textile and multi-use resource for thousands of years. Folks who live in gers traditionally use wool as wall insulation, and all over the world wool has been used to make clothing, hats, blankets, you name it.
But… before I get carried away, let’s jump back to the beginning – this wool has been sitting for quite some time, and is unprocessed. So, before I let those wool crafting dreams fill my brain, all that wool needs to be cleaned and carded.
In this post I’ll tell you just a smidge about the cleaning process I’ve done so far to remove dirt and other particulates. Now, keep in mind that I have very little experience with wool work and processing, but with some guidance from those around me more skilled in this area, I’m excited to dive in and try some new projects! Feel free to jump on in with me.
Now, let’s get to the cleaning:
- I grabbed all the necessary materials, which for me was four large plastic laundry bins, detergent, and white vinegar.
- I filled two hard plastic wash bins with scalding hot water – about 10 gallons in each and added less than a ¼ cup of detergent to the first bin without making it foam. (I’m aiming to agitate the wool as little as possible so there’s no chance of it felting before I’m ready).
- Next, I added a load of wool to the first bin and let soak for about 20 minutes.
- After 20 minutes I transferred all the wool to the second bin of hot water without wringing it, just squeezing out all the dirty water as I went. (Again, the reason this second bin has just been sitting is so the water temperature would be the same when I transferred the wool over, to agitate it as little as possible.)
- I let the wool sit in that second tub for about 20 minutes. In that time I filled up my next two wash bins with warm water and added a dash of white vinegar to one of them.
- Next, I transferred the wool that was soaking into the warm water bin with vinegar, making sure to squeeze out the dirty water before I did so. I let that sit for approximately 15 minutes.
- Then, I transferred all that wool into the last clean warm water bin without vinegar and let soak again for 15 minutes. During all this soaking time I never stirred or agitated the wool more than I needed to.
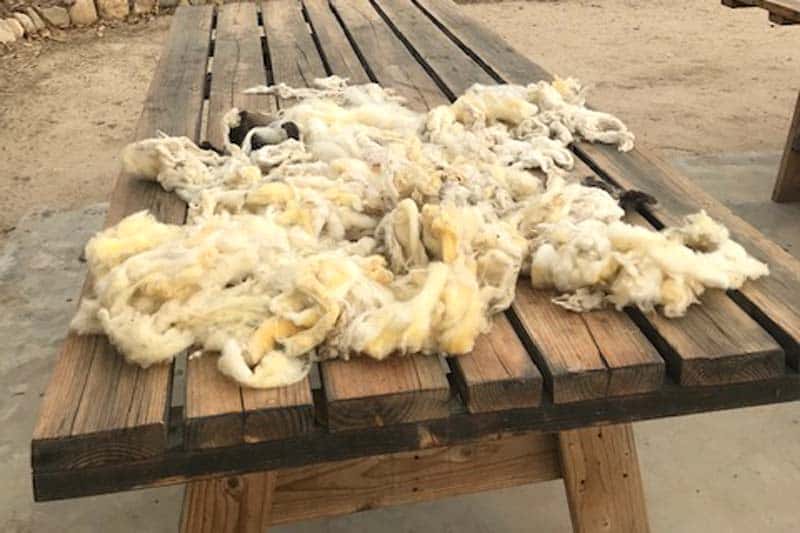
- Lastly, I pulled the wool out of the last warm water bin and squeezed it out as dry as possible without wringing and laid and spread it out as thinly as possible on a number of our picnic tables outside to dry. They were completely dry in about three days – time for carding!
Good luck on your wool processing adventures – feel free to leave tips and fun stories in the comments below!
Comments 1
This is so interesting! Thanks for writing!